How to apply the reinforcement plates
on your F-16A/B MLU
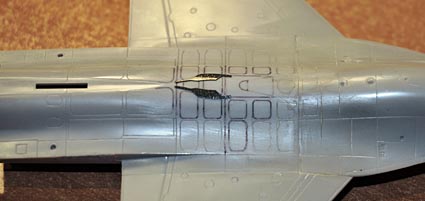
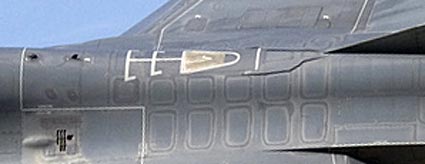
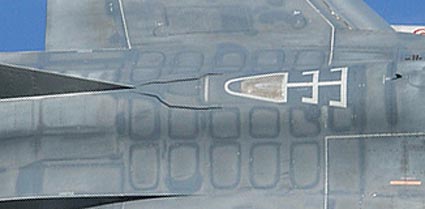
All NATO F-16A/B MLU have special shaped reinforcement
plates in front of the tail. and above the fuel panels
None of the F-16 kits supply these reinforcement plates yet, and
although these are quite thin ( fuel panels: 5.5 mm in real, or
0,075 mm in 1/72 // 0,115 mm in 1/48 & 11 mm for the main
part of the 'widge" in front of the tails), they are quite
noticeable on the aircraft & model.
These reinforcement plates are designed based on the real shape,
so not based on the fuel panels of the various F-16A/B models.
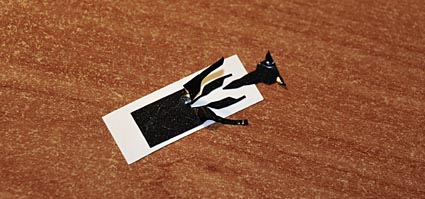
DACO supplies these reinforcement plates as free bonus
with the new F-16A/B MLU decal sheets.
As they are quite small and fragile, please follow
these steps to get them on your model:
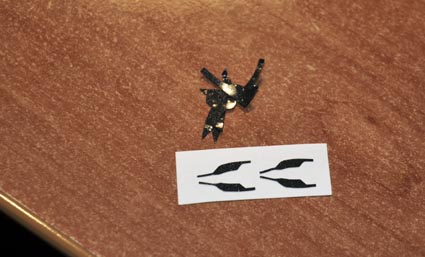
Step 1: Peel off the outer vinyl, leaving the reinforcement
plates on their place:
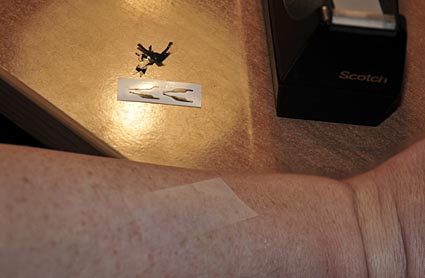
Step 2: Take a piece of tape, place it on your skin
to reduce the sticking of it, and stick it on one set of the reinforcement
plates:

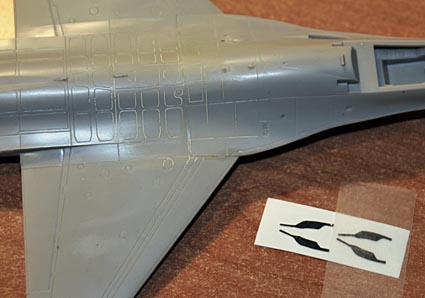
Step 3: Make the fuel plates more visible and mark
the center of the fuselage, so you can align the reinforcement
plates on their correct place:
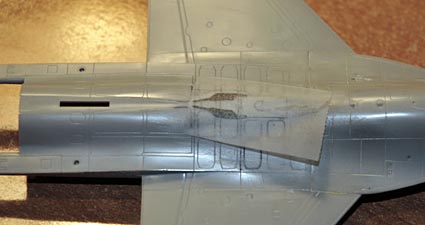
Step 4: Remove the tape, and press the reinforcement
plates on the model.
For the 1/72nd scale version you can go slightly with fine sandpaper
over it to reduce the gloss surface, so the paint will stick better.
The 1/48 has already a matt surface, so using sandpaper won't
be needed here